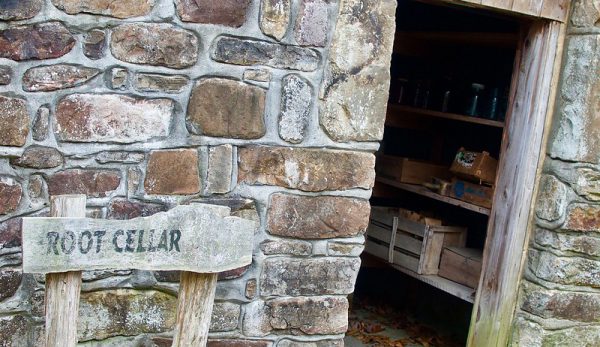
In this, our final installment in the three-part exploration of root cellars, we’re going to look at keeping things cool. Specifically, I want to talk about how you can efficiently use ice to keep your root cellar cool when things warm up.
Ice Cold
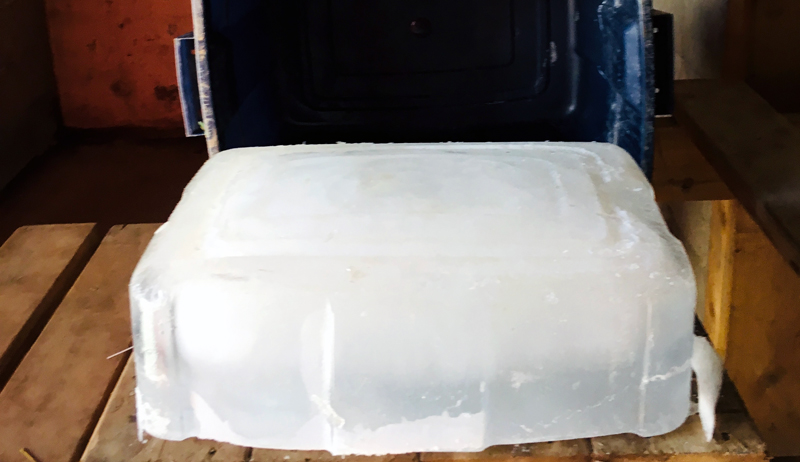
For my cellar, I also make ice. In January and February, I use Rubbermaid bins like a giant ice cube tray and open my frost-free hydrant and fill them to make ice.
This ice is like a cold battery, holding the temperatures of January and February into the summer heat.
Unlike the ice houses of old that would cut ice from lakes and rivers, my inland farm won’t allows this. So I turned toward a more organized and efficient model.
Read more: What should you store in a root cellar? Roots—and here’s why.
Making Your Own Ice
First, I fill many bins simultaneously using drip irrigation systems that would normally water potted peppers and tomatoes in a greenhouse with spaghetti tube-like emitters. Then I allow the bins to freeze for a few nights.
Once the bins are frozen, these can be slid into the cellar on a roller belt or other surface. Once they’re in, I pop the ice out of the bins and stack it at the back.

My cellar has a chamber at the back designed to hold the ice cubes with its own drain that collects the melt water.
Using this method, my cellar actually maintains around 37 degrees F right through June, July, August and September. One year I still had ice in the cellar on October 27th!
Read more: Want articles like this delivered to your inbox? Subscribe to the Hobby Farms newsletter!
Efficiency Is Key
I mention this ice-making bit in this article because it is related to how I use my root cellar for both winter and summer cold-storage. It’s just space efficient to build a root cellar and cold-storage in one and to use the space needed for a winter’s worth of root vegetables in fall to double as an ice-chamber in summer to keep some veggies fresh.
Also, when I make the ice in January and February, it draws the temperature of the cellar down to 32 degrees F. It keeps this temperature right through the spring, giving me incredible root storage capability even as most root cellars would begin to “wake up” with spring and the roots would lose their dormancy.
A few caveats to this system.
- First, this is a system for areas with cold winters. You need at least 5 degrees F to make quality ice. (Where I live in Canada, of course, this temperature is fairly common in winter.) Ideally, you would have several weeks in winter when these temperatures occurred. But you can get away with only one cold spell by having enough bins to make all this ice in one go.
- Second, you need to like playing with ice and snow.
Other Cellar Facts
To close out our look at root cellars, here are a few other pointers and fun facts about cooling with homemade ice.
Approximately one-third of the volume of your cellar should be filled with ice. Please note, this space is available for the maximum amount of cellar vegetable storage needs because that occurs in October and November, when the storage carrots and beets need to be moved in and the ice has melted.
(This works out great as they move into a very cold cellar).
Most commercial vegetable operations have many bins and buckets that aren’t used in the wintertime. So they can serve to make ice. But other concepts such as barrels on pallets can make this system even more economical for larger operations.
All in all, the beauty of the root cellar and the ice-cooling system is they don’t rely on electricity. Over the long term, it will save money and build resilience!
Grow on,
Zach


